 Show Liftable Members ( Modeling )
Tool summary :
Also see :
|
- Modeling (where Show Liftable Members is a tool)
- Check/Assign Member Lift (related tool)
model > crane > | model -- cranes
 Step-by-step instructions :
You can pre-select crane placements before doing step 1 . If you do so, skip step 2 .
|
|
|
Select Items bindings (for optional pre-selection) |
1 . In Modeling , invoke Show Liftable Members using any one (1) of the following methods:
Method 1 : Click the Show Liftable Members icon. The icon can be taken from the group named ' Model -- Cranes ' and placed on a toolbar (classic) or the ribbon (lightning).
Method 2 : If " Modeling layout style " is ' Classic ', you can use the menu system to choose Model > Crane > Show Liftable Members .
Method 3, 4 or 5 : Show Liftable Members can also be configured to be invoked using a keyboard shortcut , the context menu , or a mode . For the lightning interface, this configuration is done using Customize Interface .
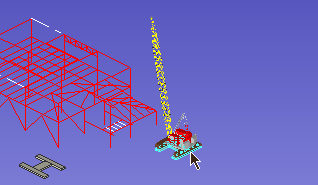
2 . Select Item(s) mouse bindings become active, and the status line prompts you to " Locate crane placement(s) ."
|
|
|
Select Item(s) bindings |

|
Show Liftable Members automatically filters the selection so that only crane placements can be selected, thus allowing you to, for example, click on a crane in order to select its placement. |
2a : Left-click ( Select ) one crane placement .

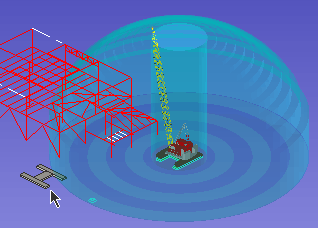
You can optionally select more than one crane placement. In this example, the user presses Enter without selecting a second crane placement. 2b : Either hold down the Shift key and click additional crane placements to select them, or press the Enter key (or right-click and choose " OK ") if you are done selecting crane placements.
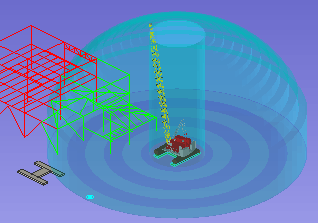
3 . Members that are liftable are highlighted in the primary selection color (green).
|
|
|
Select Item(s) bindings |

|
The "dome" around the crane placement represents the reach of the crane's boom. The center cylinder is the no-lift zone around the crane. The alternating dark and light bands are each 10 ft in width. |
3a : Right-click ( Menu ) or hit the Enter key or hit the Esc key to end the Show Liftable Members operation.
Before assigning member lifts (for example., using Assign Member Lifts ), you may want to take some of the following steps to expand the number of members that this tool found to be liftable.


